Teacheatcreate is moving!

hey everyone! I know. You thought this site was left to collect dust in a dark corner of the inter webs. But no! Things have been changin’ ’round here. I refreshed my website and built my blog into it. So I will continue (i.e. get back into blogging) from there. You can see my work and read the blog from now on at ryanives.net and ryanives.net/blog. This site will no longer be updated. See you guys at the new joint! 

Ryan

Black Friday Sale At Sidework Studio

Hi everyone!

Things have been craaaaaazy! Alex and I are buying a house so I haven’t been posting too much lately.

IMG_4755.JPG

I did want to let everyone know that Sidework Studio is having a Black Friday sale where you can get 20% off your purchase using the code “ILIKEART” in our Etsy shop.

Check it out. Buy a print or a photograph. Support the arts!

Kids In Masks Printing Session Two

Hey guys.

I got a much needed day off from work yesterday and I was able to finish printing the last four layers of my nine color woodcut. I’m really happy with the way they turned out!

I had the pizza and key image to print. Three colors for the pizza, one for the key block.

IMG_0012.JPG First up, the pizza crust.

IMG_0014.JPG Followed by the cheese.

I realized I didn’t get a shot of the pepperoni/sock stripes block. I’m sure you all are all devastated. Sorry.

Anyway, the moment you’ve all been waiting for:

IMG_0013.JPG Here’s the finished print! You’ll notice that I changed some of the colors. Sometimes colors work differently on different surfaces. The registration is slightly looser than I had planned but I actually like the looseness. It gives the illustration a more hand-drawn feel.

All I need to do now is curate and edition them. After that they will be available for purchase on the Sidework Studio Etsy Shop. Swing over and check out what we have up currently and don’t forget to like us on Facebook and follow us on Twitter and Instagram.

Cheers!

Five Down, Four To Go

Ok people, I’ve got some more studio sneak peak shots for your viewing pleasure.

Saturday was a long day of printing but I finished five of the nine colors. And let me just say, it felt so good to be in the shop and printing. I’m already itching to get back in there.

IMG_4264.JPG Since I am currently sans press, I’m doing this nine color print by hand. I use screenprinting registration tabs as they are easy and efficient. The above photo gives you a glimpse at how I line up each block using transparency with the key block on it.

IMG_4314.JPG The shorts.

IMG_4315.JPG Mixing up some blue!

IMG_4316.JPG Wiping off excess ink from around the image. Don’t want ink on the paper where it shouldn’t be! Let me tell you, my finger was HUR-TING by the end of the day. I printed 26 of each color and wiped every time for every color. You can do the math as that is not my specialty.

IMG_4317.JPG Shorts, shirt and skin finished. After this, I printed the skull mask color and the socks.

IMG_4309.JPG My ingenious drying rack made of chopsticks, tape and registration tabs.

The pizza, stripes on the socks and the key image are next up for this coming weekend. Can’t wait to finish them and share them with you. They will be available for sale on our Etsy shop soon!!!

First In The Kids In Masks Series… Carved

Evening everyone.

Exciting things have been happening over at Sidework Studio! Our first “Kids In Masks” series is carved and almost fully printed. For now, I wanted to share some progress shots of the carving process.

20140719-230044-82844491.jpgAll nine printing blocks with the image transferred to each.

20140719-230044-82844844.jpgEach block, though they have the same image, get carved differently. Here, the skull mask and the pizza crust plates are ready to print and the skin tone plate is in the process of being carved.

20140719-230045-82845166.jpg

20140719-230045-82845487.jpgThe shorts and t-shirt blocks in progress.

20140719-230045-82845780.jpg

20140719-230046-82846118.jpg

20140719-230046-82846549.jpgThe key block in progress and finished.

IMG_0007.JPGHere is a proof print of the key block.

This past weekend I printed five of the nine layers and I’ll post about that later. The rest will be printed this weekend and I’m really excited to see this print finished.

Check back soon!

Back From An Unintended Hiatus

Hey everyone. I know, I know. I disappeared. But, I’m back. At least until I forget to post again.

Anyway, things have been so crazy since the summer. Alex and I started a new company, I (Sidework Studio) did a hand-lettering commission for No Kid Hungry (a fantastic non-profit working towards ending childhood hunger in America; I can’t show you yet because it won’t be out in the wild until October), I started my third year of teaching art and I started an Instagram for my art room.

It is the latter that I will tell you about now. I have been thinking and wanting to do something to get my school’s community more involved and aware of what is happening in the art room. Parents are always on top of what is going on in their child’s home room but less so for the specialists. I had considered a blog, but felt that would be too time consuming with an already jammed schedule.

So I decided to go with an Instagram. Being a photographer I felt this would be a great visual way of sharing the goings-on with the community. I’ve been in the process of sharing my idea with parents and getting consent forms signed and returned. So far, I’ve only posted one photo as of this blog post but I intend to continually update the school Instagram from here on out.

Btw, you can follow my classroom @ces_artroom and see what we are up to. I am really excited to see where this concept goes. Bringing technology to the classroom is becoming a big push in public schools and this is one small step for me.

More to come!

Welcome to Sidework Studio

Hey everyone! It has been a while since I’ve posted, I know. But I have great news!

As many of you know, Alex and I are artists with a collective and extensive knowledge in graphic design, printmaking, letterpress and photography.

So, Alex and I formed a print, photo and design studio called Sidework Studio.

IMG_4073-0.JPG

Sidework is a term used in restaurants to describe all the tasks that make a restaurant successful. This resonates with us as we love food and have a lot of passion and respect for cooking. We also like the term because it describes the way we have built this studio. We have had to work on building Sidework Studio “on the side” and will continue to create and grow our little egg.

In no way does this mean Alex and I won’t be putting loads of blood, sweat and tears into this. We are working hard to bring new works to our shop. Speaking of, we opened an Etsy shop which you can access here. As of this posting we have eight photographs available for purchase in several sizes. All of our photographs, which are taken by both of us, are printed in-house. In fact, everything from photographs to letterpress printed goods and screenprints to hand-drawn and digital works, all is and will be created by the two of us in-house.

You can like us on Facebook and follow us on Twitter. Please do! We will be updating both regularly with work, news and maybe even the odd joke.

We hope that you are as excited as us. Please feel free to contact us anytime through Etsy, Facebook or Twitter.

Enjoy!

All The Other Things We Made For Our Wedding

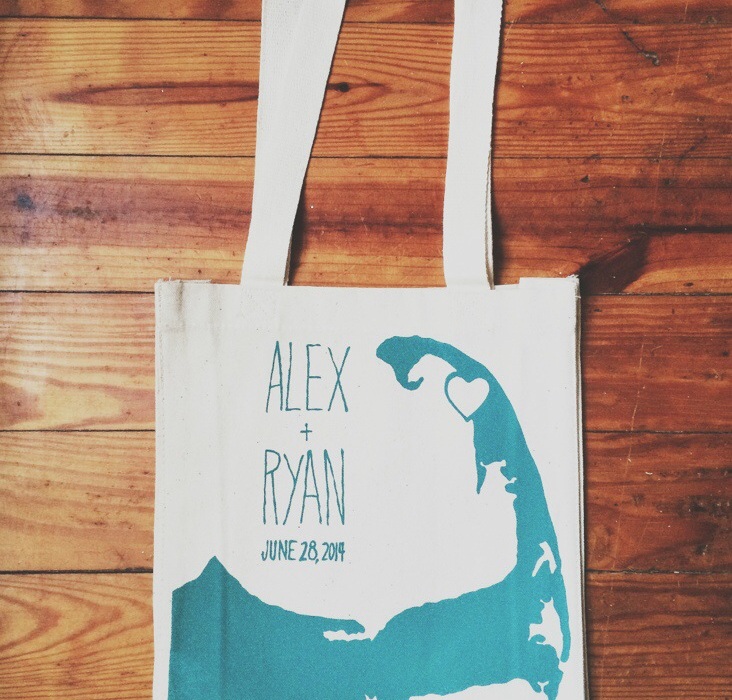
There are so many things that Alex and I made for our wedding. So far, you’ve seen our letterpressed invitations and our screenprinted welcome bags. Here’s just about everything else.

20140710-221412-80052042.jpg
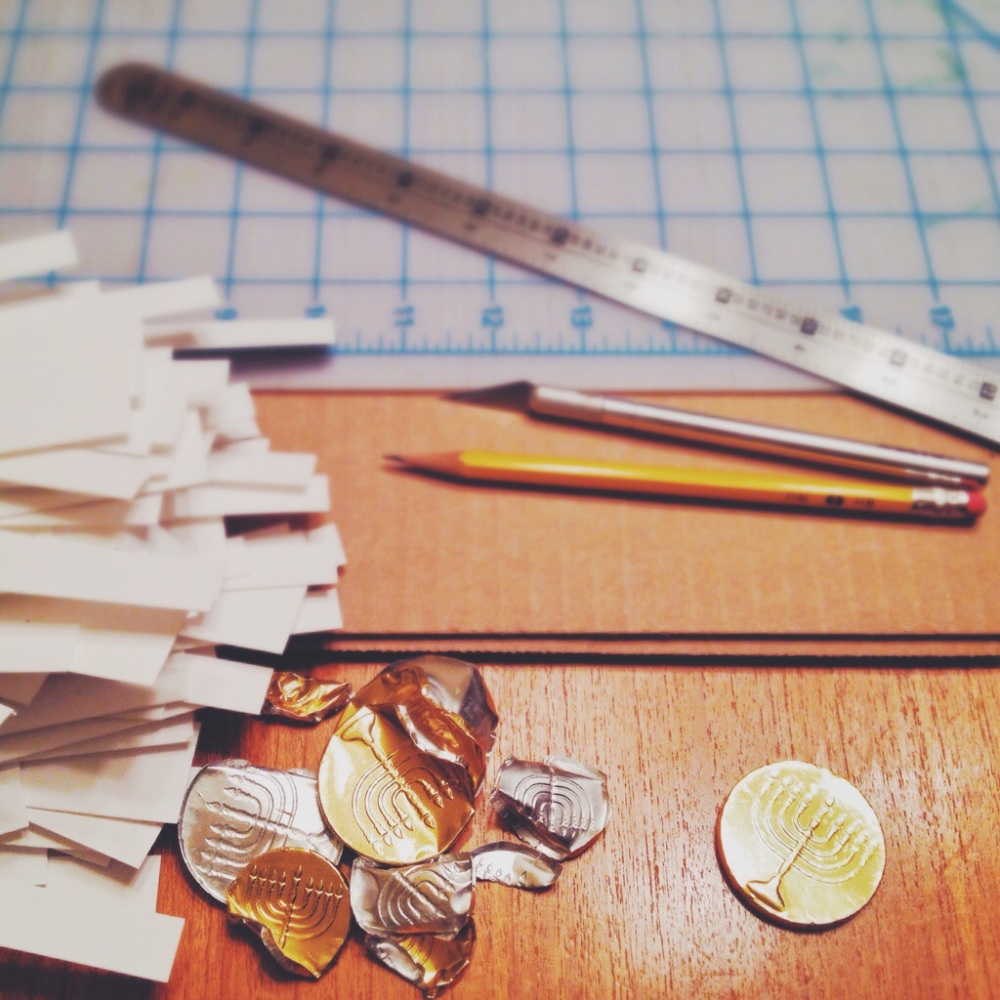
Tons and tons of cutting! And chocolate-eating.

20140710-221413-80053010.jpg
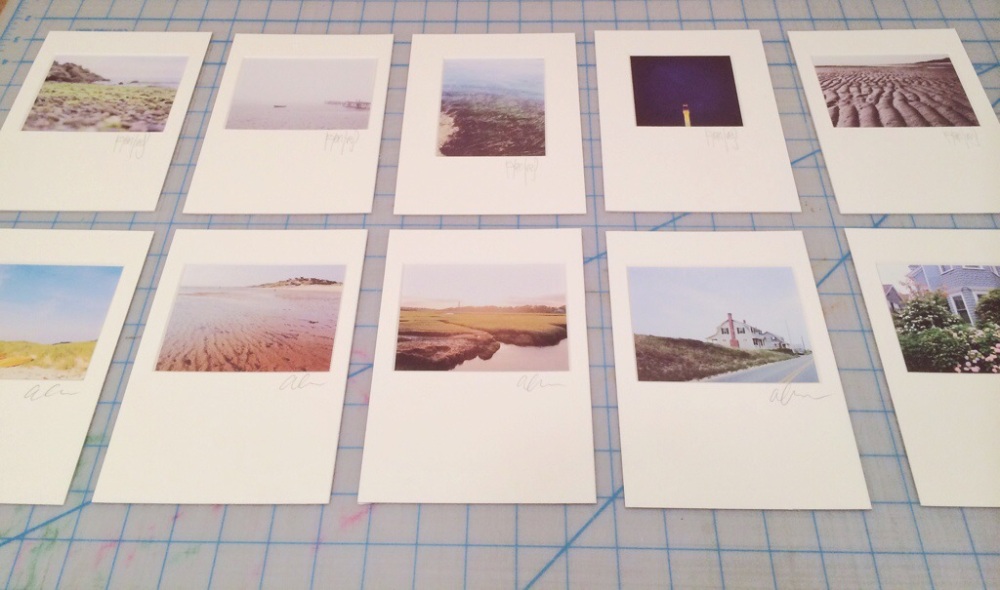
Alex and I are both photographers as you may or may not know, so we decided to give our guests a photograph that we took of Cape Cod as a wedding favor. We each chose five photos for a total of ten different compositions. We have a really nice large format inkjet printer and I printed enough photos for all of our guests and then some.

Once printed, I then cut mats and matted each photograph. We put them in clear archival bags to keep them clean and safe.

20140710-221412-80052383.jpg
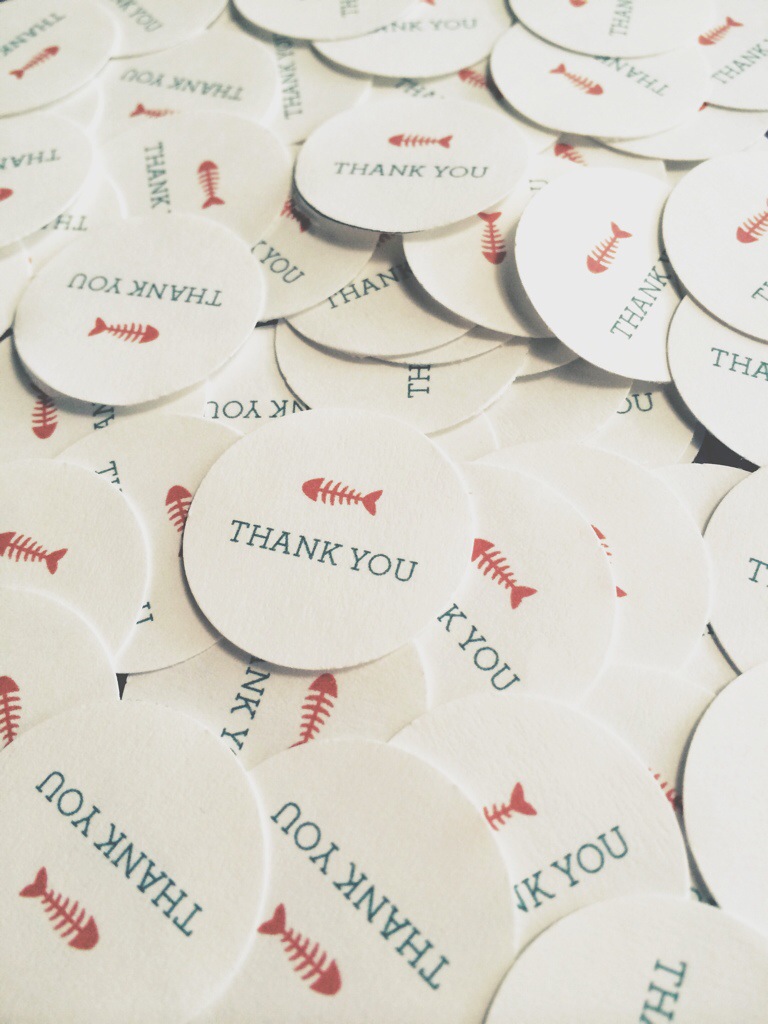
We created a sticker to go on the back of each photograph bag just to let everyone know we appreciated them coming to the wedding.

20140710-221413-80053275.jpg
Here they all are matted, bagged and tagged! Our guests seemed to really appreciate and enjoy these favors. Alex and I felt that these were so much more personal than giving something like a cookie, small drink, etc.

20140710-221412-80052703.jpg
For our table numbers, I painted on large clam shells that Alex and I found on the beach.

20140710-221413-80053534.jpg
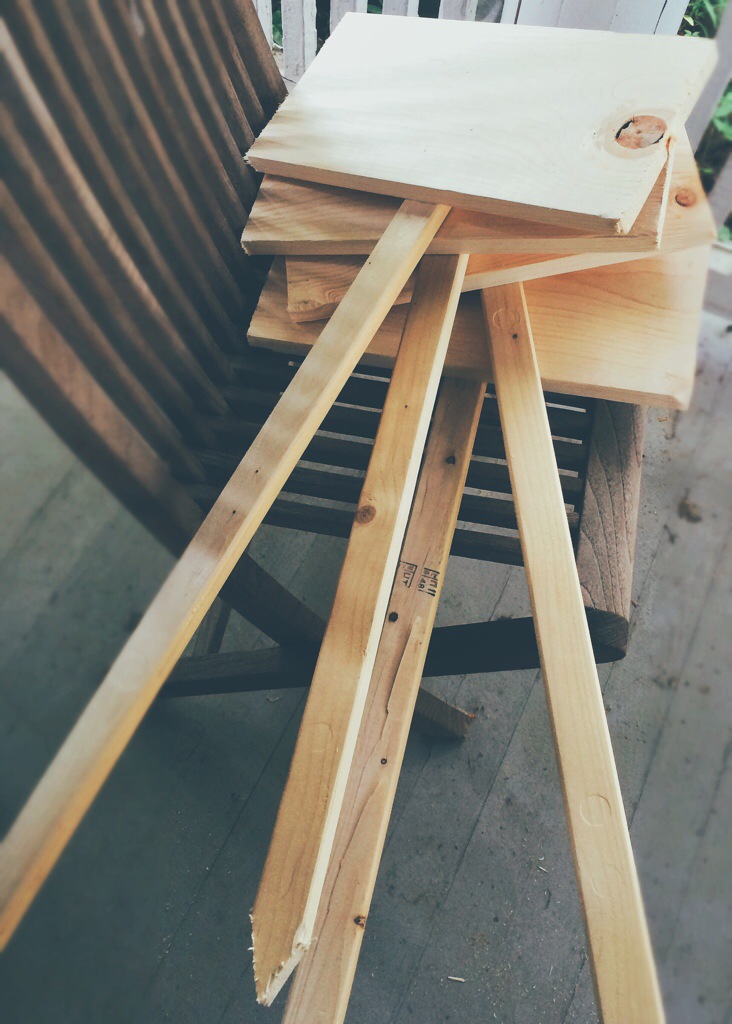
The next thing we made were road signs. These were put up to point people in the right direction towards the beach for the ceremony. I made the signs using a 2×8″ board and some 1×2″ boards.

20140710-221413-80053840.jpg
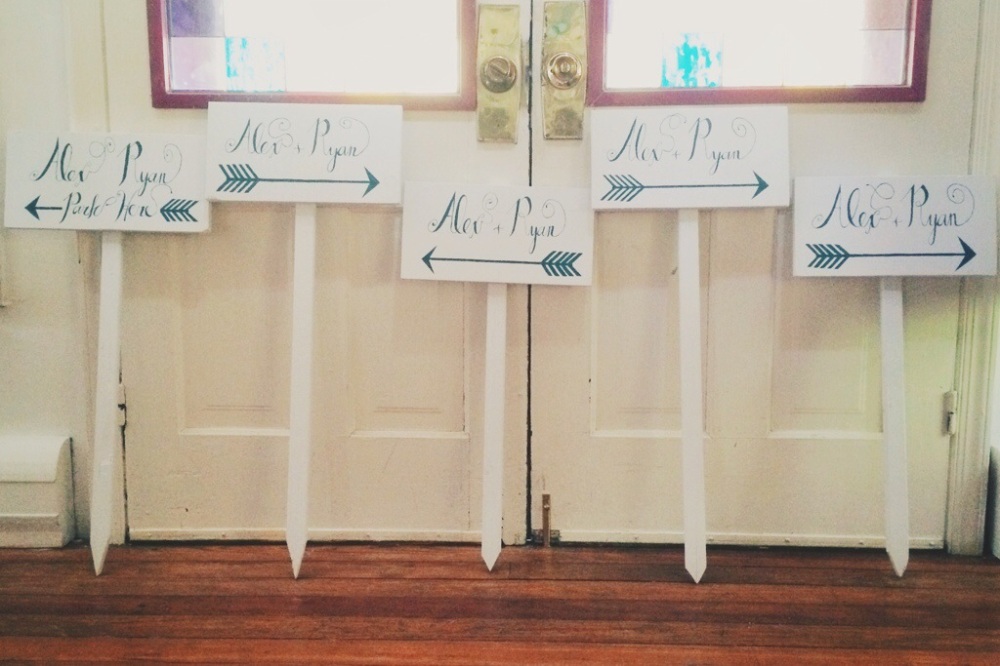
I painted the signs white and hand painted the type and arrows.

The annoying thing about these signs is that they seemed pretty big when I was making them but once I put them out on the roadside, they seemed infinitesimal. I haven’t heard anything about people not seeing them so I guess that is a good thing (maybe?)

20140710-221444-80084512.jpg

20140710-221444-80084262.jpg

20140710-221444-80084013.jpg

20140710-221444-80084768.jpg
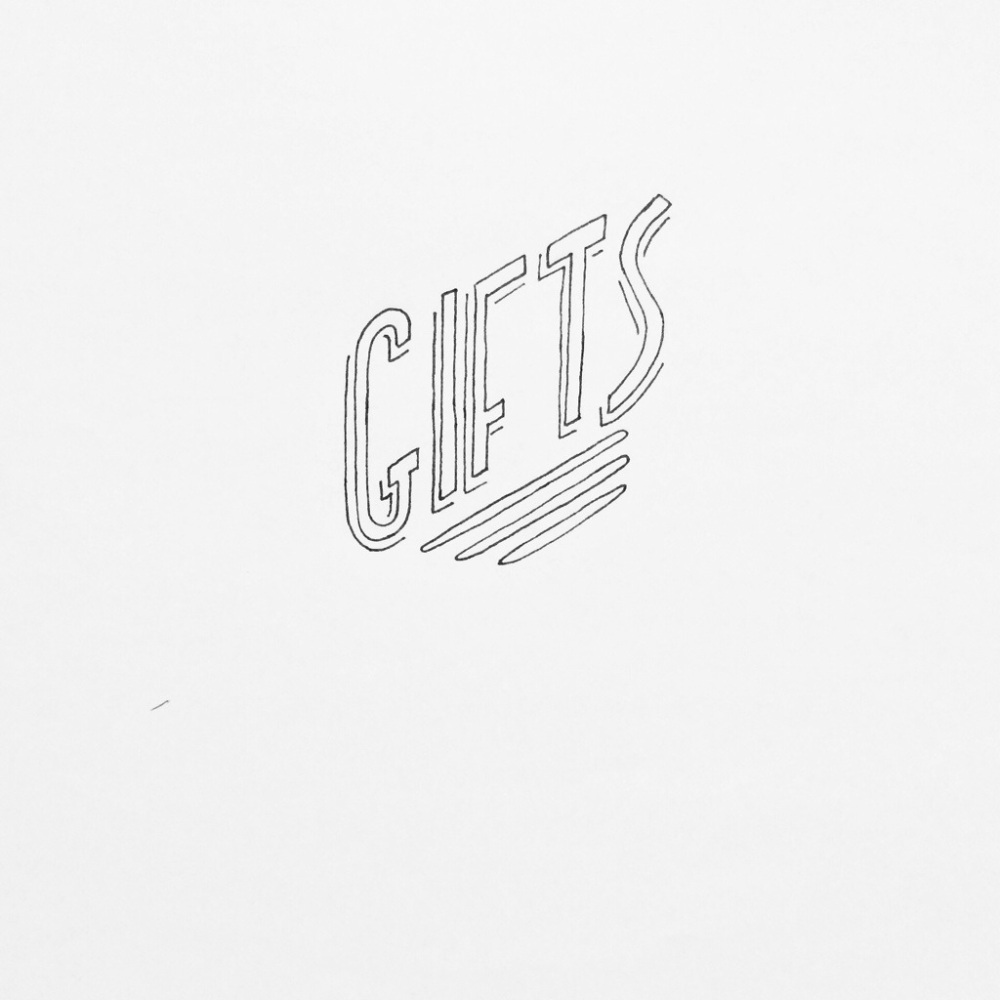
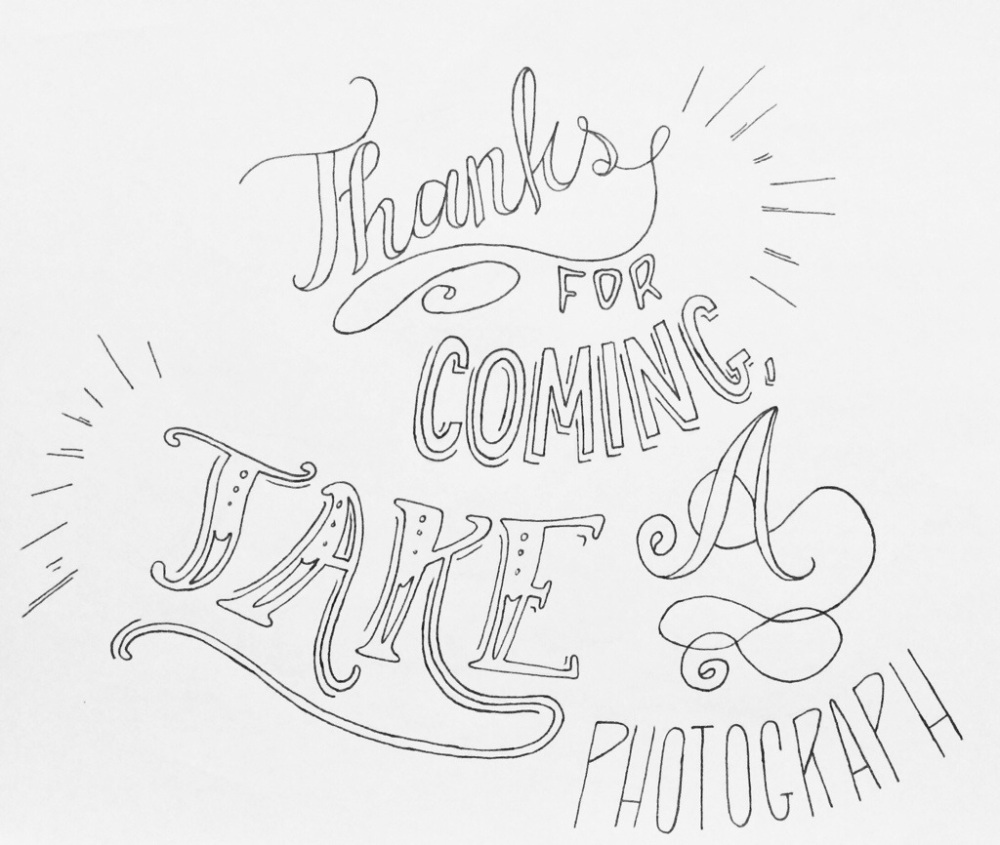
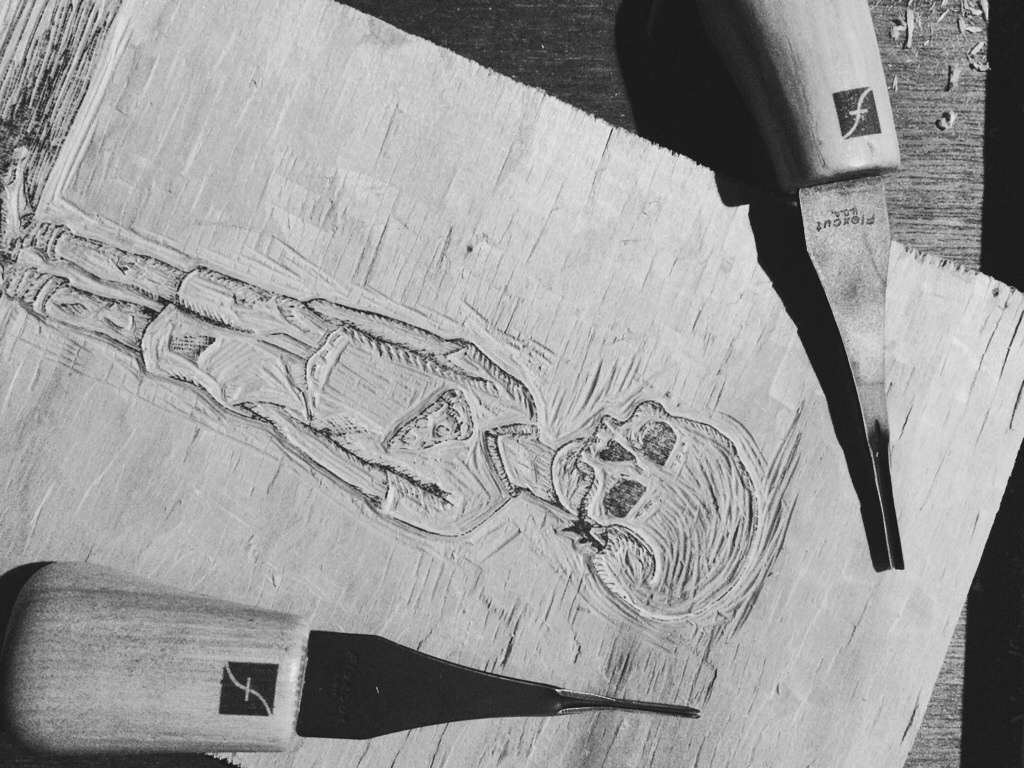
I taught myself how to do hand-drawn lettering. These are the original drawings.

20140710-221444-80084954.jpg

20140710-221444-80084865.jpg

20140710-221445-80085031.jpg

20140710-221445-80085107.jpg
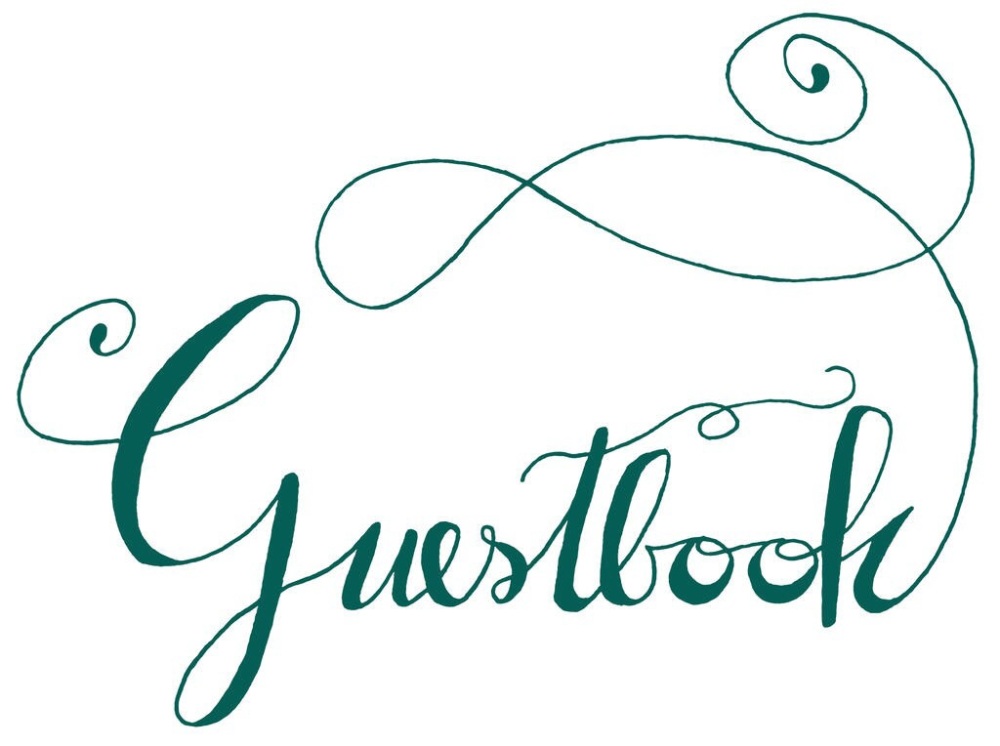
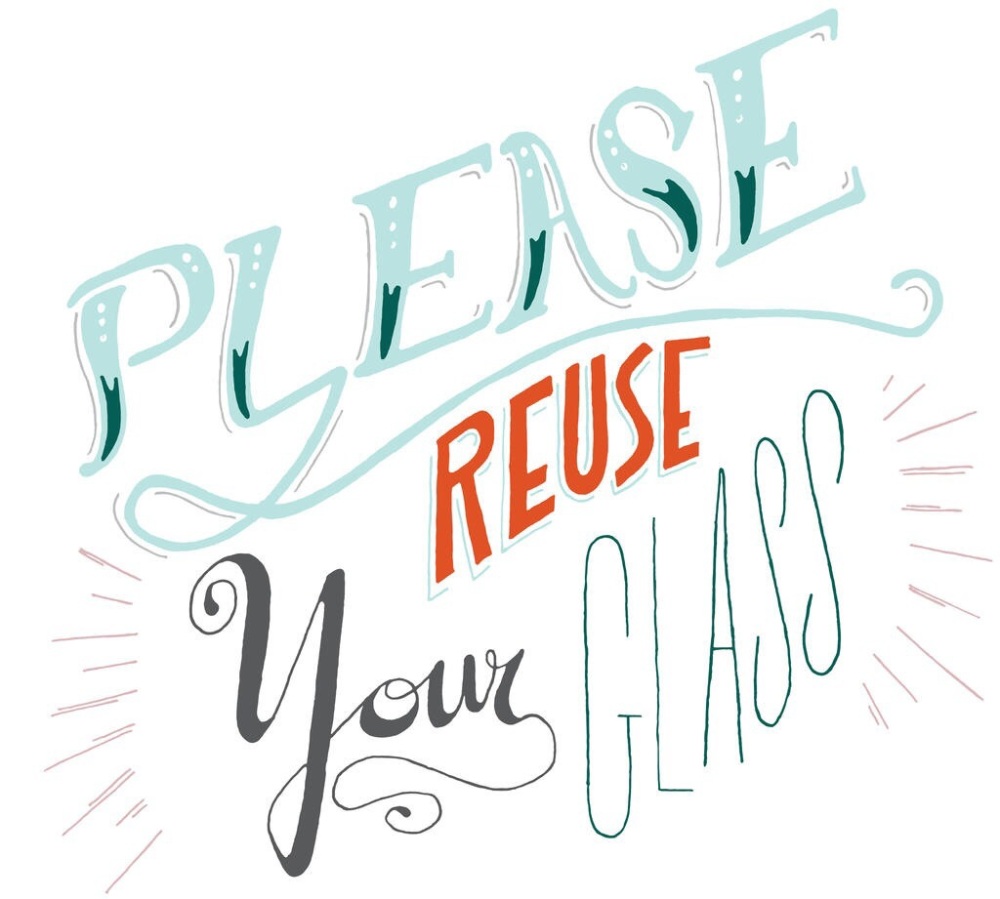
Here are the drawings after I scanned them and did some work on them in Illustrator.

20140710-221445-80085464.jpg

20140710-221445-80085825.jpg

20140710-221446-80086168.jpg

20140715-105841-39521676.jpg
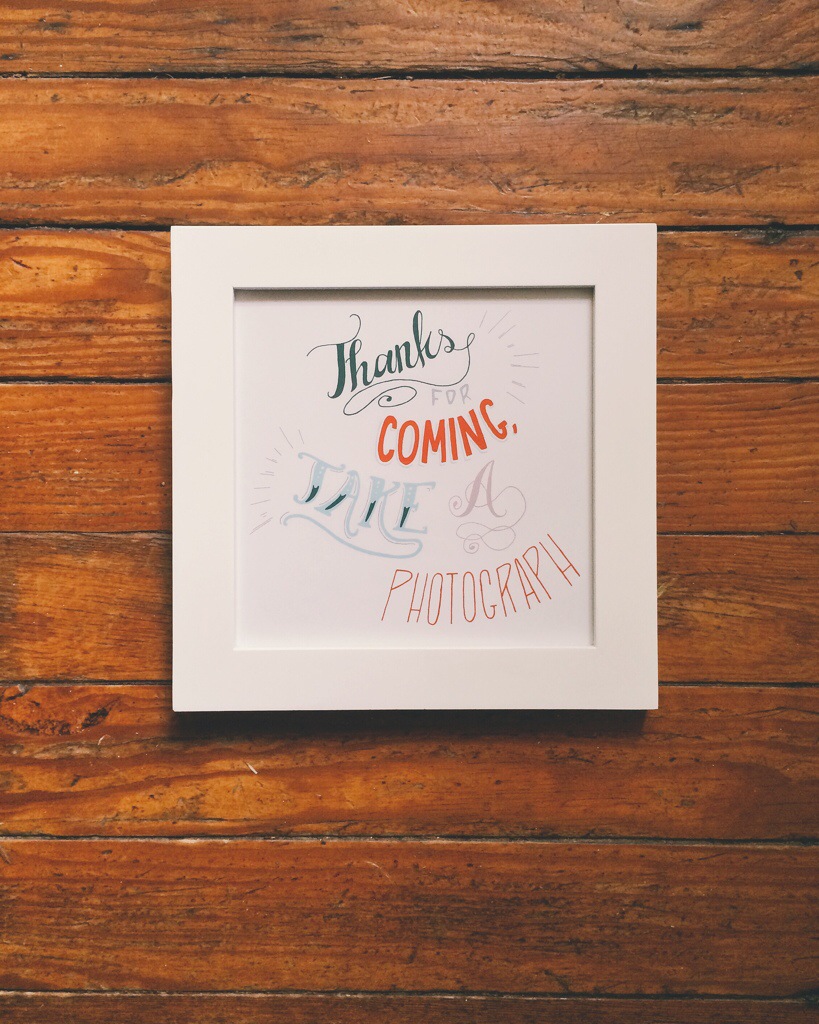
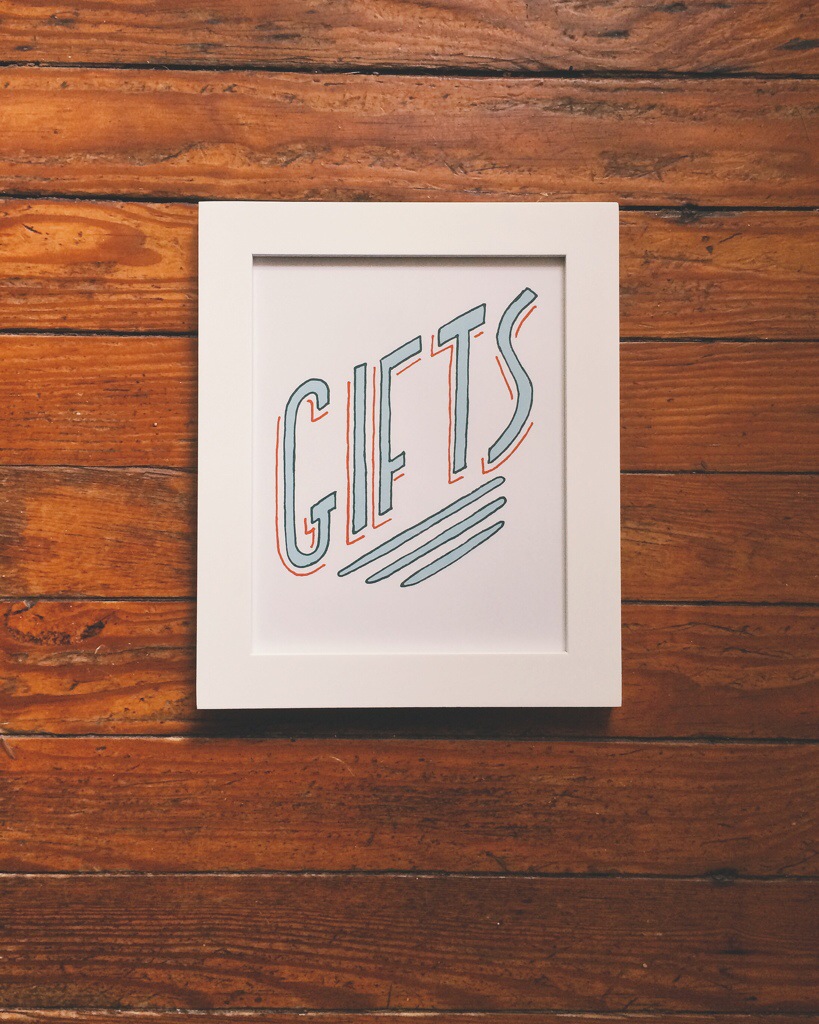
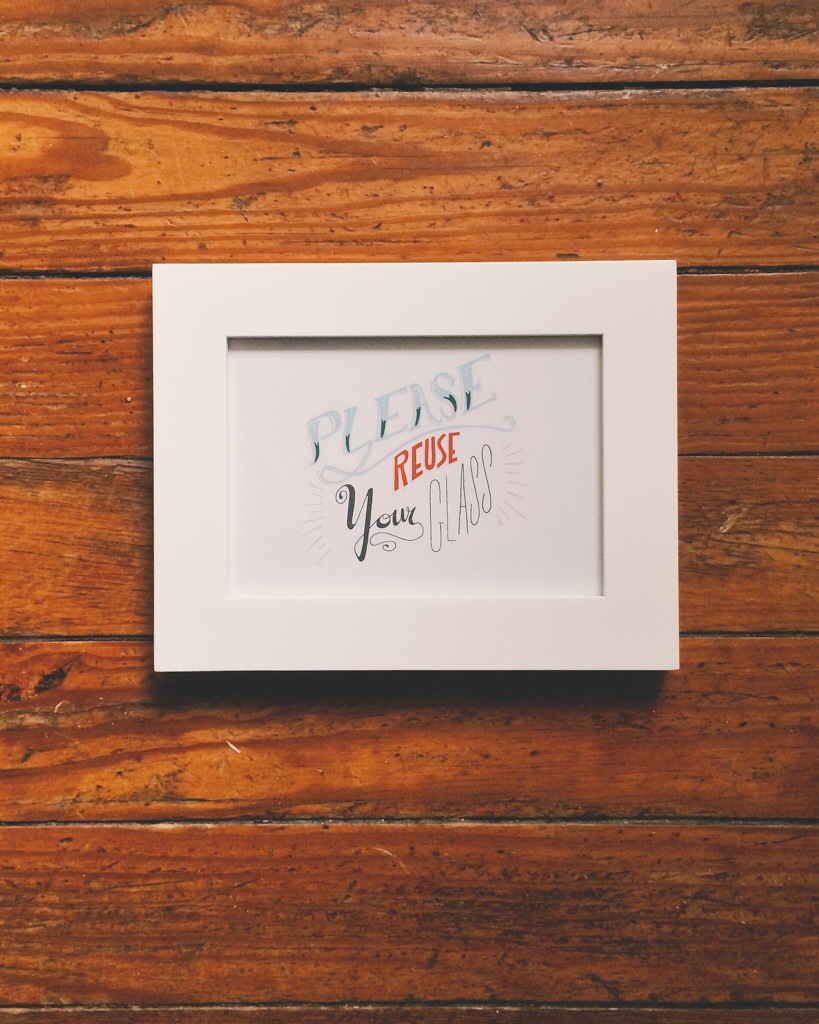
Once I finished with the digital work, I printed each sign and framed them. They were used around the vineyard to help guests know what to do and where to put things.

20140710-221446-80086569.jpg
Alex really wanted to have confetti at our wedding. She had talked about it for a long time. So we found some natural confetti that wouldn’t litter the beach. We used dried hydrangea petals. Alex and I designed a sticker to go on the tiny bags and we had one of our guests hand them out to everyone as they came down to our spot on the beach.

There are other things that we didn’t get photos of, such as the name cards. We wrote the names of every guest on razor clam shells that Alex and I collected. I will post soon about our chuppah, which Alex’s sister created for us. It is incredible! In fact, if you’ve been following this blog, you’ve already gotten a little preview of the chuppah. Come on back soon.

Welcome Bags To Welcome Guests

20140710-213629-77789140.jpg
These were fun to make…. Sort of. Well, not really.

OK, they were fun to make, I just don’t have the best setup to screenprint so many bags.

I did some of the designing on these but I definitely got a lot of help from Alex as she really knows what she’s doing. I’m just a printer! But they’re not too bad if I say so myself.

20140710-213926-77966350.jpg
Cutting out those skinny letters was loads of fun! I don’t have an exposure unit so I made a stencil. First I had to print it on inkjet paper, cut it out, stick it to drawer liner sticky paper, cut it out again, then stick it to the screen.

20140710-213926-77966719.jpg
Here is the final stencil on the screen. It is backwards because I stuck it to the back of the screen, or the side of the screen that touches the paper.

20140710-213629-77789528.jpg
My screenprinting press is not much more than two clamps screwed to a large piece of plywood, but it gets the job done. Mostly. This time, Alex and I put a couple old woodblocks of mine in each bag two bags at a time as I printed. The woodblock gave me a flat surface to print on while keeping the ink from bleeding through the bag to the other side. The woodblock was blank on the other side, in case you were wondering how the woodblock image didn’t show up when printing. If you have no idea what I’m talking about then ignore that and continue.

The design is a map of Cape Cod. The heart is over Truro, which is the town we were married in.

20140710-213629-77789911.jpg
Here they all are filled with goodies for our guests. I hope they enjoyed their bags and the contents!